5 Common Mistakes When Applying a Screen Protector (And How to Avoid Them)
A screen protector is one of the cheapest repairs you will ever avoid, and one of the easiest things to ruin. You clean the glass, peel the backing, line it up, and then watch a single speck of dust become a permanent bump in the middle of your display. The frustrating part is that almost every failed application comes down to the same handful of mistakes, and all of them are avoidable with five minutes of patience.
Here are the ones that come up most often, and what to do instead.
Dust is the leading cause of bubbles, and it usually does not come from the phone. It comes from the air around you. Vacuuming an hour earlier, a ceiling fan on low, a loose hoodie sleeve, a shedding pet on the sofa — all of it puts particles into the air that will happily land on a freshly exposed adhesive surface.
What works: pick a small room with still air. A bathroom shortly after a hot shower is a well-worn trick because the steam pulls dust out of the air and settles it. Switch off fans and air conditioning. Work on a hard, clean table rather than a bed or carpet. Wear a short-sleeved shirt, tie back long hair, and rest the phone on a lint-free cloth rather than a paper towel, which sheds fibres of its own.
Most protectors are cut with only a fraction of a millimetre of tolerance on each side. Lay one down "roughly straight" and you end up with a wider gap on one edge, a corner that catches your thumb, or a cutout that clips the front camera.
Do a dry fit first. Place the protector on the screen with the backing still attached and check the speaker slot, the camera cutout and the margins on all four sides. If the pack includes an alignment frame, use it; that is exactly what it is for. If it does not, try the hinge method: stick a strip of low-tack tape along one edge like a door hinge, lift the protector on that hinge, peel the backing away, then lower it back down along the same line. Line up the top edge first, since that is where the cutouts matter most, keeping the bottom edge slightly raised until the top sits right.
Not all bubbles are the same, and treating them the same is how people make things worse.
For air, push the bubble toward the nearest edge using the flat of a card wrapped in a soft cloth, working in short strokes from the centre outward. Do not press hard on the middle of the screen. For dust, lift the nearest corner just enough to reach the speck, use a fresh dust-removal sticker to pull it off, and lay the corner back down. Avoid dragging the protector across the glass while you do it; film creases easily and glass collects new dust fast.
Fingerprints on the sticky side become permanent smudges under glass. So does lint from a shirt hem. Once you peel the backing, the adhesive should only ever face the phone.
Hold the protector by its edges, never by the middle. Never set it face-down on a table, not even for a second while you reach for something. Peel the backing slowly and keep your hands to the side of the phone rather than hovering directly over it, since your hands carry dust and skin flakes. If you do touch the adhesive, resist the urge to wipe it with a cloth — that just adds fibres. A piece of clean tape pressed on and lifted off can pull away a stray fibre without leaving anything behind.
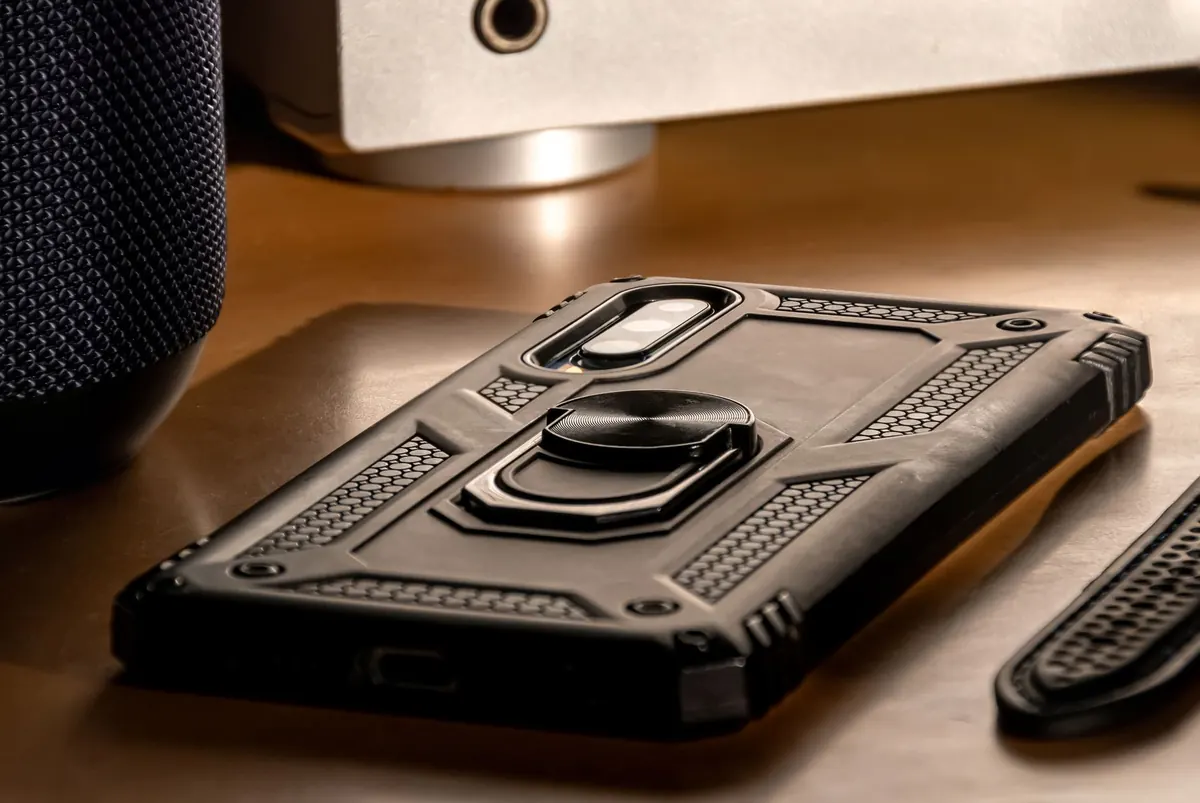
A protector that fits the phone perfectly can still fail because of the case. Raised lips and tight tolerances push against the edge of the glass, lifting it just enough to trap grit and create a halo that grows over the following weeks. Before buying, check that the protector is described as case-friendly, and be honest about the case you actually use, not the slimmest one you own.
Screen shape matters too. On phones with curved edges, rigid tempered glass rarely sits flush, and a film protector is often the better choice. Thicker glass and privacy filters can also interfere with in-display fingerprint sensors or the front camera. Fit the protector, then test the sensor straight away — many phones let you delete and re-register your fingerprints after installation, which usually improves recognition.
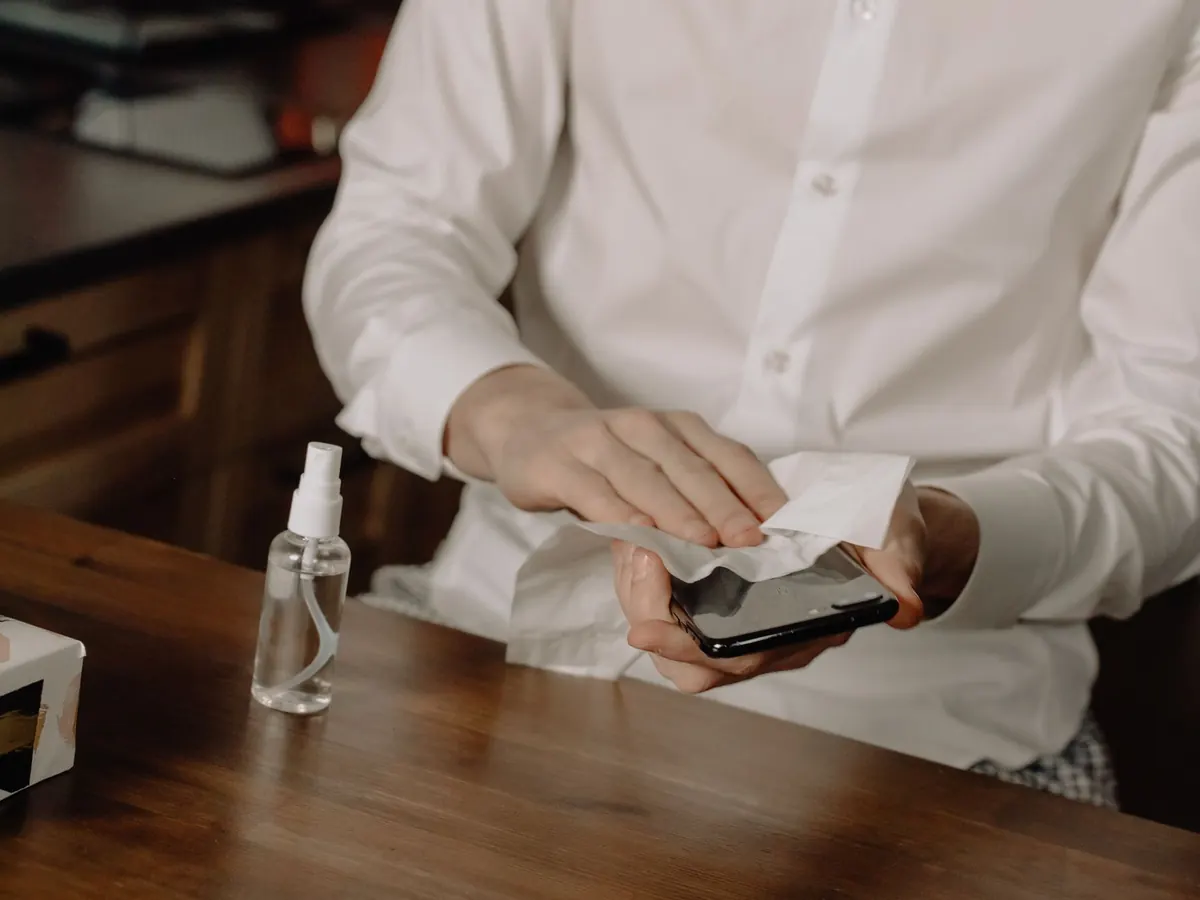
One quick wipe with a cloth is not cleaning; it is spreading a thin film of oil that will grab dust the moment the adhesive touches it. Wipe the screen with the alcohol pad from the kit, then dry it with the lint-free cloth, then run the dust sticker over the whole surface immediately before you lay the protector down. Do not spray liquid directly onto the phone, keep it out of the speaker grille and ports, and wash your hands before you start. Once the screen is clean, apply the protector right away — leaving it on the table while you hunt for the alignment frame is how that first speck gets in.
If you want a sequence to follow, this one is hard to beat:
If a speck does get trapped, lift the closest corner and remove it while the adhesive is still fresh — you can usually get away with one careful lift, sometimes two. Repeated lifting wears the adhesive and leaves edges that collect dust permanently, so it is better to start over with a spare protector than to keep poking at a bad one. A little patience at the start saves you months of staring at the same bubble.
Photo: cottonbro studio / Pexels
Previous Post
Gadget Protection 101: Essential Accessories for New Device Owners
Next Post
Winter-Proof Your Gadgets: How to Protect Devices from Cold and Condensation